 |
[ Home ] [ Consulting ] [ Blog ] [ Site Map ] [ Contact Us ]
|
|
|
HASSLE-FREE
URBAN PV, Part 1
The
United States is an urban society with 72% of Americans living on less
than 2% of the land. Although PV is an important source for remote power,
urban PV is starting to displace a significant percentage of polluting
electric generators. With a little patience, planning and help, city folks
can install a PV system hassle-free and make the world a better place. Hire a PV Contractor
or Do It Yourself
Joel has built a lot of homes and trained building inspectors. Fran and Joel have combined over 50 years PV experience. We know that most inspectors prefer not to discuss codes and rules with even knowledgeable owner-builders. That's why we hired, Greg Johanson, owner of Solar Electrical Systems, when we were ready to do our own PV system. Greg is a general and electrical contractor who has installed megawatts of PV and has an 8.8 kW PV system on his own home and 21.6 kW on his office and shop. Designing the System
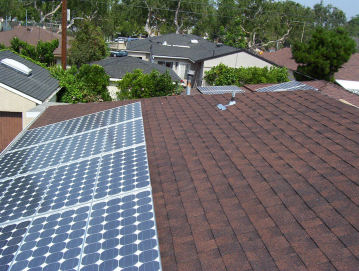
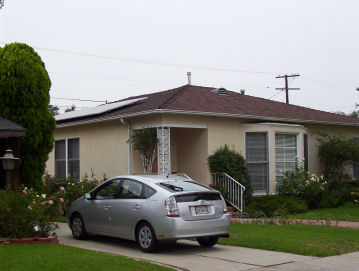
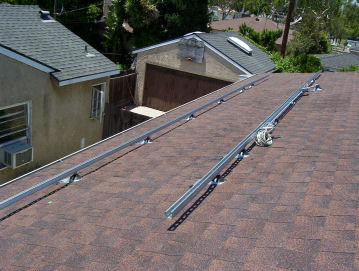
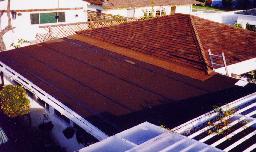
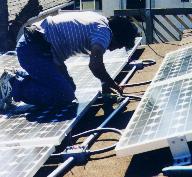
Joel designed a low-profile stand-off mount for the Sacramento Municipal Utility District (SMUD) PV Pioneer program. The mount was first used on PV systems on 110 homes and 15 churches in Sacramento in 1995. Although annual PV production at an average 10 degrees tilt in Los Angeles is 5% less than 35 degrees, we did not want to have a solar array that stuck up or spend money for the extra structural engineering and hardware for a high-tilt mount. The low-profile array also is in compliance with local building codes that prohibit unsightly roof equipment like air conditioners and antennas. The System
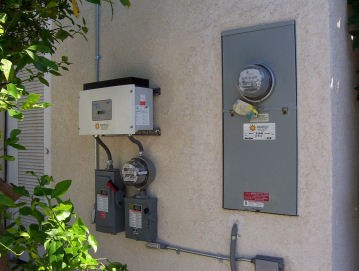
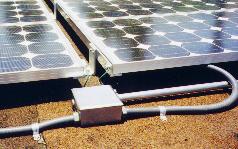
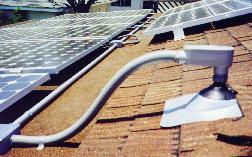
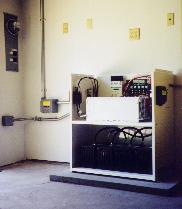
The garage has a 18 degree hip roof with two 4-module panels. The office is a shed attached to the garage. Six 4-module panels are mounted on the office 5 degree pitch roof. The "homerun" metal EMT conduit was brought into the garage so that the inverter could be installed in either the garage or office. At first, we installed the inverter and batteries in our office. The sealed batteries are designed for Uninterruptible Power Supplies (UPS) for use in occupied rooms. However, the inverter
transformer buzzing was very irritating. Also the inverter
(and most electrical devices) have Electric and Magnetic Fields
(EMF). Lab experiments have shown that EMF can cause changes in living
cells. Many researchers believe that there is a risk of adverse health
effects from residential levels of EMF. We are not alarmists, but we also
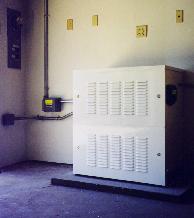
avoid unnecessary risks. We planned the wiring so we could move the inverter
into the garage if the transformer noise bothered us. Flipping the inverter
around and moving it into the garage also reduced the EMF in the office
well below 8 milligauss which is considered safe by even the most conservative
researchers.
|
|
|
We
have a battery bank to protect our computers and for emergency power. Our
office, garage, kitchen and home lighting are on dedicated circuits. If
the grid is disconnected, the Trace (now Xantrex) inverter switches these
circuits to the batteries.
Despite news reports to
the contrary, Los Angeles has relatively few power outages. Most blackouts
are inconvenient but only a few minutes long. Our grid power was off only
20 minutes during the big 1994 earthquake. The longest utility power outage
we have had in over 20 years was 18 hours when a neighborhood transformer
failed on Easter Sunday and the local utility waited until Monday to replace
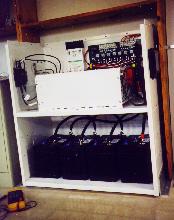
it. The original 4 Johnson Controls 12 Volt, 86 Ampere Hour sealed, gel-cell
batteries provide us with 3.4 kWh energy storage
(at 80% depth of discharge).
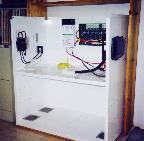
In 1998, the best inverter for off-grid and on-grid systems was the Trace SW-series inverter. Trace is now owned by Xantrex and the SW inverter designers now work for Outback. Today there are several high quality inverters for off-grid and on-grid with or without batteries. We installed a Trace Modular System with an SW4048 sine wave inverter capable of handling our largest combined loads. The modular cabinet looks good, was easy to install and impresses inspectors. Itemized Price Break-Down
Our total system cost
$19,742 and qualified for a $5,835 California Energy Commission buy-down
rebate. The net price was $13,907 or $7.15 per Watt AC. The battery storage
package costs another $2,709 but was not eligible for the grid-tie buy-down.
To
see a wiring diagram of our PV System CLICK HERE
|
|
|
So
Where's the Hassle?
If
you want hassle-free PV, you have to understand utility companies and inspectors.
When we upgraded our service panel a year earlier, Fran told the inspector
that we planned to install PV. He was very interested and wanted to learn
more. Our PV system would be the first in Culver City, so teaching was
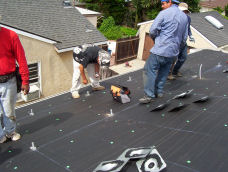
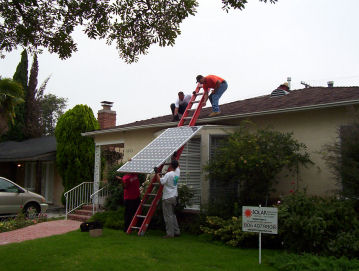
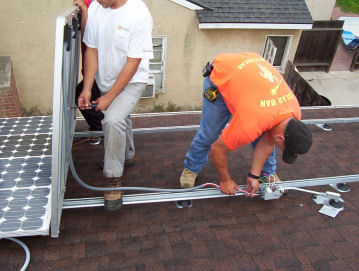
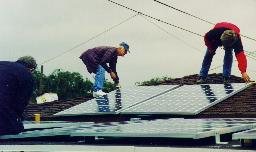
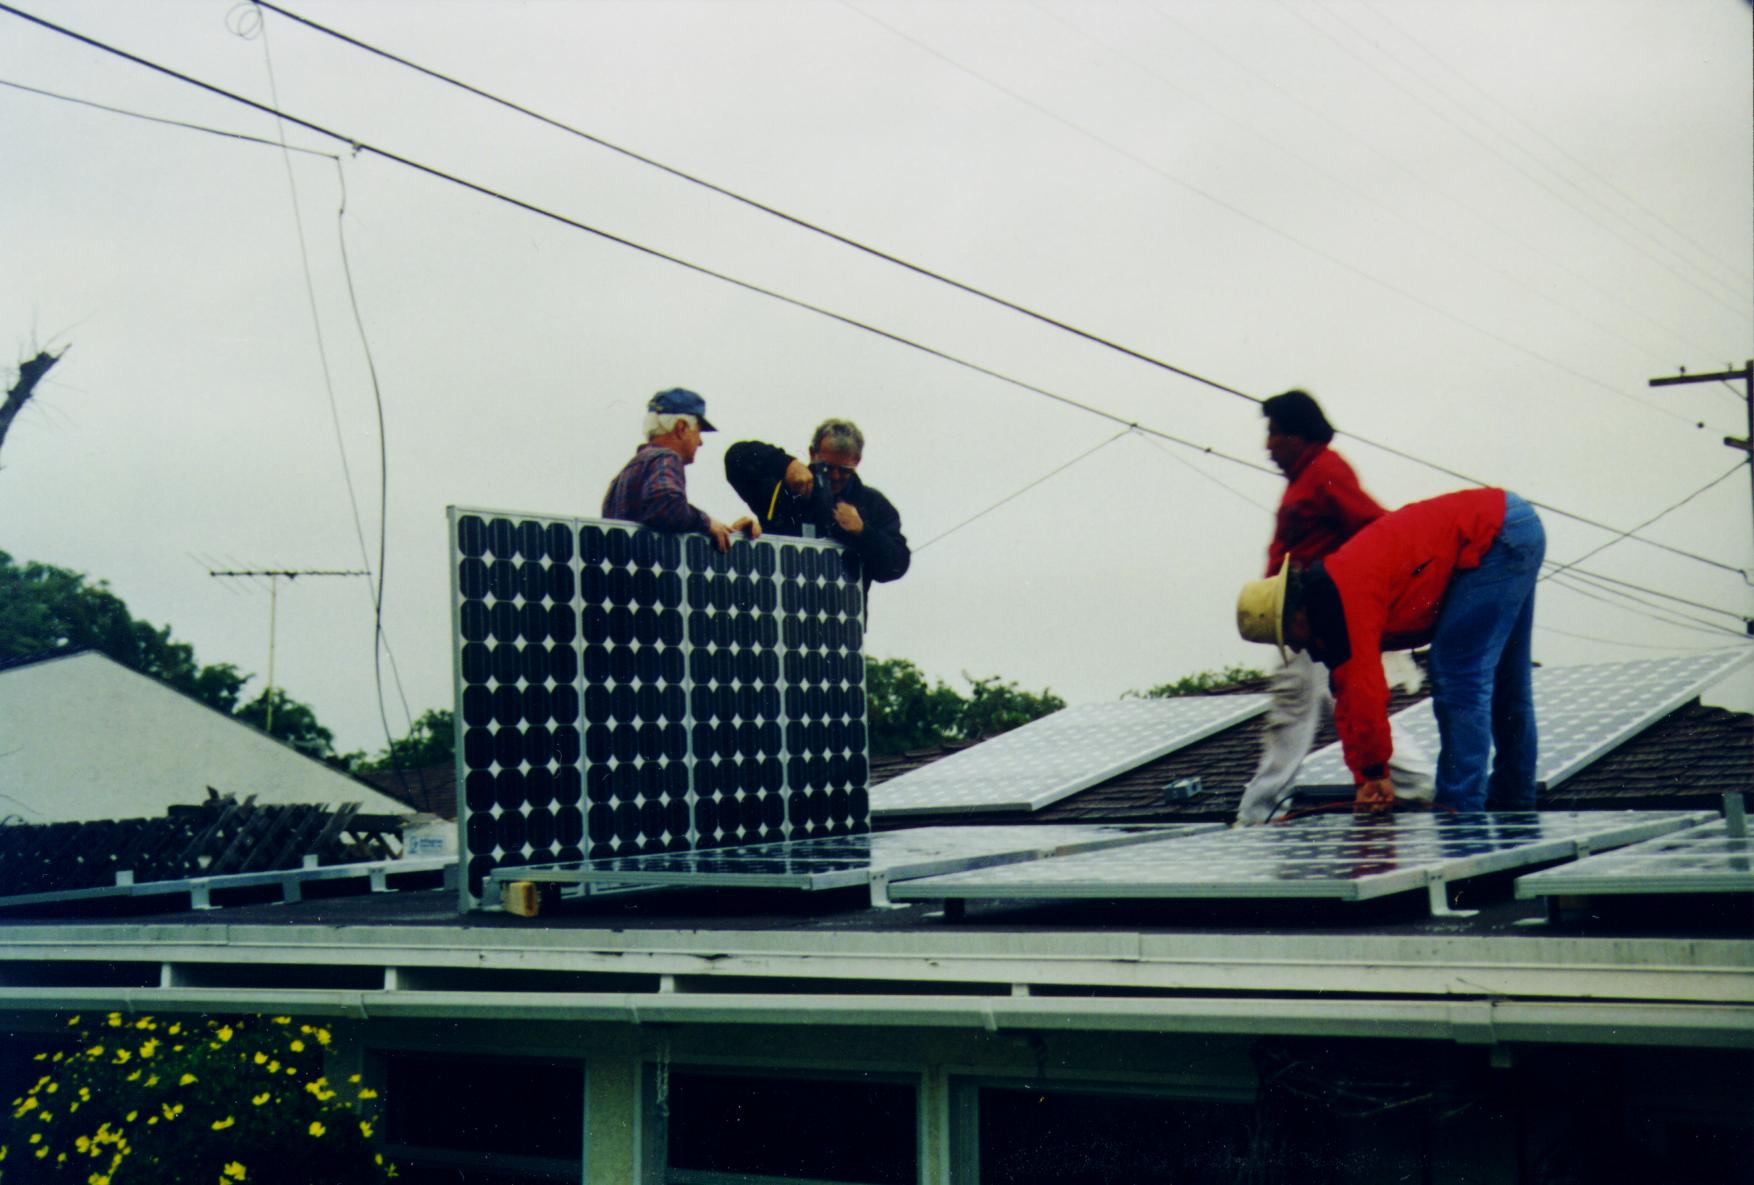
the key to opening inspectors’ minds. We assembled a permit package to educate the inspectors. The package included the scope of work, system description, design calculations, equipment specifications, parts list, wiring diagrams, drawings, plans and elevations. We also added our California Buy-down Rebate Confirmation and some attractive product literature. We began the inspection process by applying for a homeowners permit listing Solar Electrical Systems as our licensed electrical sub-contractor. First, Joel met with the electrical inspector and gave him a copy of the permit package, some PV system photos and general PV information. Next, Joel met with the engineer responsible for inspecting signs, poles, towers and other things stuck on roofs. The engineer liked the low-profile design. Next, Joel met with the construction permit engineer and hit a snag. The engineer couldn't care less about PV. All he wanted were site specific structural calculations. Joel told him that the generic calculations made by a licensed professional structural engineer (PE) for the Sacramento project mount included our roof type, but the permit engineer refused to even look at the calculations. So Joel politely asked to see his boss. His boss, the building department director was a professional engineer. Joel told him about the PV work he had done for utility companies, showed him lots of photos and explained the structural calculations. The chief engineer confirmed the calculations and even waived the construction permit because the design was under three pounds per square feet dead load (less than the weight of a layer of shingles). The three meetings took two well-spent hours. and we ended up paying only $31.50 for an electrical subpanel permit. Our equipment arrived on schedule. We installed the array on a Saturday during a light rain. Working in the rain is not recommended, but the roof is nearly flat and Saturday was our first free day. Four guys worked three damp hours to get the array in place. We installed the wiring on the next available clear day. The inspector passed the job without a hitch. We mailed the final papers to the California Energy Commission and received our rebate check within a month. Net Metering
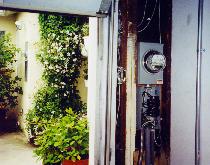
We called our electric service provider, Southern California Edison (SCE), spoke to the net metering contact person and promptly received an application by fax. SCE recommends, but does not require, a lockable AC disconnect switch between the PV system and the grid. SCE says if they want to disconnect the PV system, their kilowatt-hour meter in the customer's service panel can be pulled out. The Los Angeles Department of Water & Power and most other utilities require lockable disconnect switches to protect lineworkers and maintain control over the public utility grid. It will be years before utilities and the PV industry agree on national interconnect standards so consult with your local utility and electrical contractor. Utilities require homeowners to insure their grid connected systems. We told our insurance agent that our PV system was an electrical improvement approved by the building inspector and the utility and the California Energy Commission. Our insurance rate remained unchanged. We signed the net meter application, attached a one-line electrical drawing and mailed them to SCE. Three weeks later, we received permission in the mail to connect to the grid. SCE did not visit our installation but reserved the right to inspect it later. Three years later, an SCE technician did look at our PV system when he was mapping PV system locations in our neighborhood. You Can Do It Too
The savings are great. Inflation free electricity for the rest of our lives is nice. What is most important is that everyone involved in this installation thinks positively about PV. The next PV installation in Culver City went even smoother. If you live in the city or suburbs and want to go solar, you too can be a PV pioneer. Just be prepared to do a little trail blazing. Dealing with inspectors and the electric company is easier if you have complete plans before meeting with them. Follow the rules - don't fight them. If you run into a problem, stay calm. There's probably as simple solution. |
|
HASSLE-FREE
URBAN PV, Part 2
In
2007, the time was right to expand our PV
system. Our city now actively encourages people to go solar and no longer
prohibits solar arrays that can be seen from the street. The state has
also made a bold 10-year commitment to subsidize the installation of 3,000
megawatts of new PV by 2017. We left our existing PV system, 32 Siemens SP70 solar modules with the SW4048 and the UPS in place and installed an additional 20 Siemens SP75 modules and a batteryless SMA America Sunny Boy 2.1 kW inverter. The new solar array matches the old array and is on a low-profile mount at the same 18 degree angle as the south-facing roof of our house. The modules are connected in series to provide 340 volts DC to the inverter. The inverter's 240 volt AC output feeds directly into our home electric service panel through a separate 15 amp circuit breaker. Other system equipment includes an NEC required solar array DC disconnect switch, a solar rebate program required AC kilowatt-hour meter and an AC disconnect switch. Our utility company still does not require a PV system output AC disconnect switch, but many electric utilities do. We included the AC switch so that other people could see how easy it is to comply with utility interconnection requirements. Our roof shingles were 17 years old and in fair shape so we replaced the shingles under the PV array to avoid having to remove and re-install the array in a few years when the shingles needed replacement. Pulling off the old shingles made installing the solar array mounting stand-off roof jacks and flashing easier. The solar array homerun wiring in flexible conduit was routed through the attic and then in rigid conduit to the DC disconnect switch next to the inverter. Batteryless inverter systems operate more efficiently than our battery-based inverter PV system. At 80% DC-to-AC conversion efficiency, the new system's output is 1,500 watts DC STC x 0.8 = 1,200 watts AC. The new PV system cost $14,330 and qualified for a $3,110 solar rebate. The net system price was $11,220 or $9.35 per watt AC. The increased net price per watt ($9.35/W AC) is the result of increased material and labor costs and a decreasing subsidy. Also, the electrical permit cost was $365, but the city is considering waiving PV system permit fees in the future to encourage more people to go solar. The PV system is still a good deal because electric utility rates have also increased since we installed our first PV system and there are 3 rate increases scheduled for the next year. We now produce over 75% of our electricity with PV. When we replace our 17 year old 25 cubic feet refrigerator/freezer with a new energy efficient model, we will be almost 100% solar. We don't plan to move so the PV system's added value to our home is not important. Having inflation-free electricity is important because it means greater economic security as we get older. What is most rewarding is knowing that our system is setting an example for other people in our city to go solar and making the world a better place for everyone. Email
us if you have questions or need help.
|
|